EAT YOURSELF WELL

Inspiration | Information | Recipes

  • Home
  • About
  • Recipes
  • Wellness Retreats
  • Sites We Love
  • Shop
  • Inspiration

Baked Apple Winter Breakfast

November 24, 2014 by Jennifer Silverberg Leave a Comment

Winter Breakfast ApplesEven if you’re bleary-eyed and shivering in the cold this AM, you can put together this super-simple but oddly hearty winter breakfast!

Ingredients

1 apple per person (or make that 1.5 to be safe :-)) I love organic Fuji apples, but pretty much any apple will do.
Finely chopped nuts: I love walnuts and macadamia for this, but whatever you have will work (to easily chop, whirl them in the blender for a sec)
About 1/4 tsp coconut oil per apple
Cinnamon, to taste (you’ll want more than you think)
Cloves (prefer whole, but if you only have ground, that will work too)
About 1/4 cup Coconut water or plain water

Recipe

Preheat oven to 400 degrees.
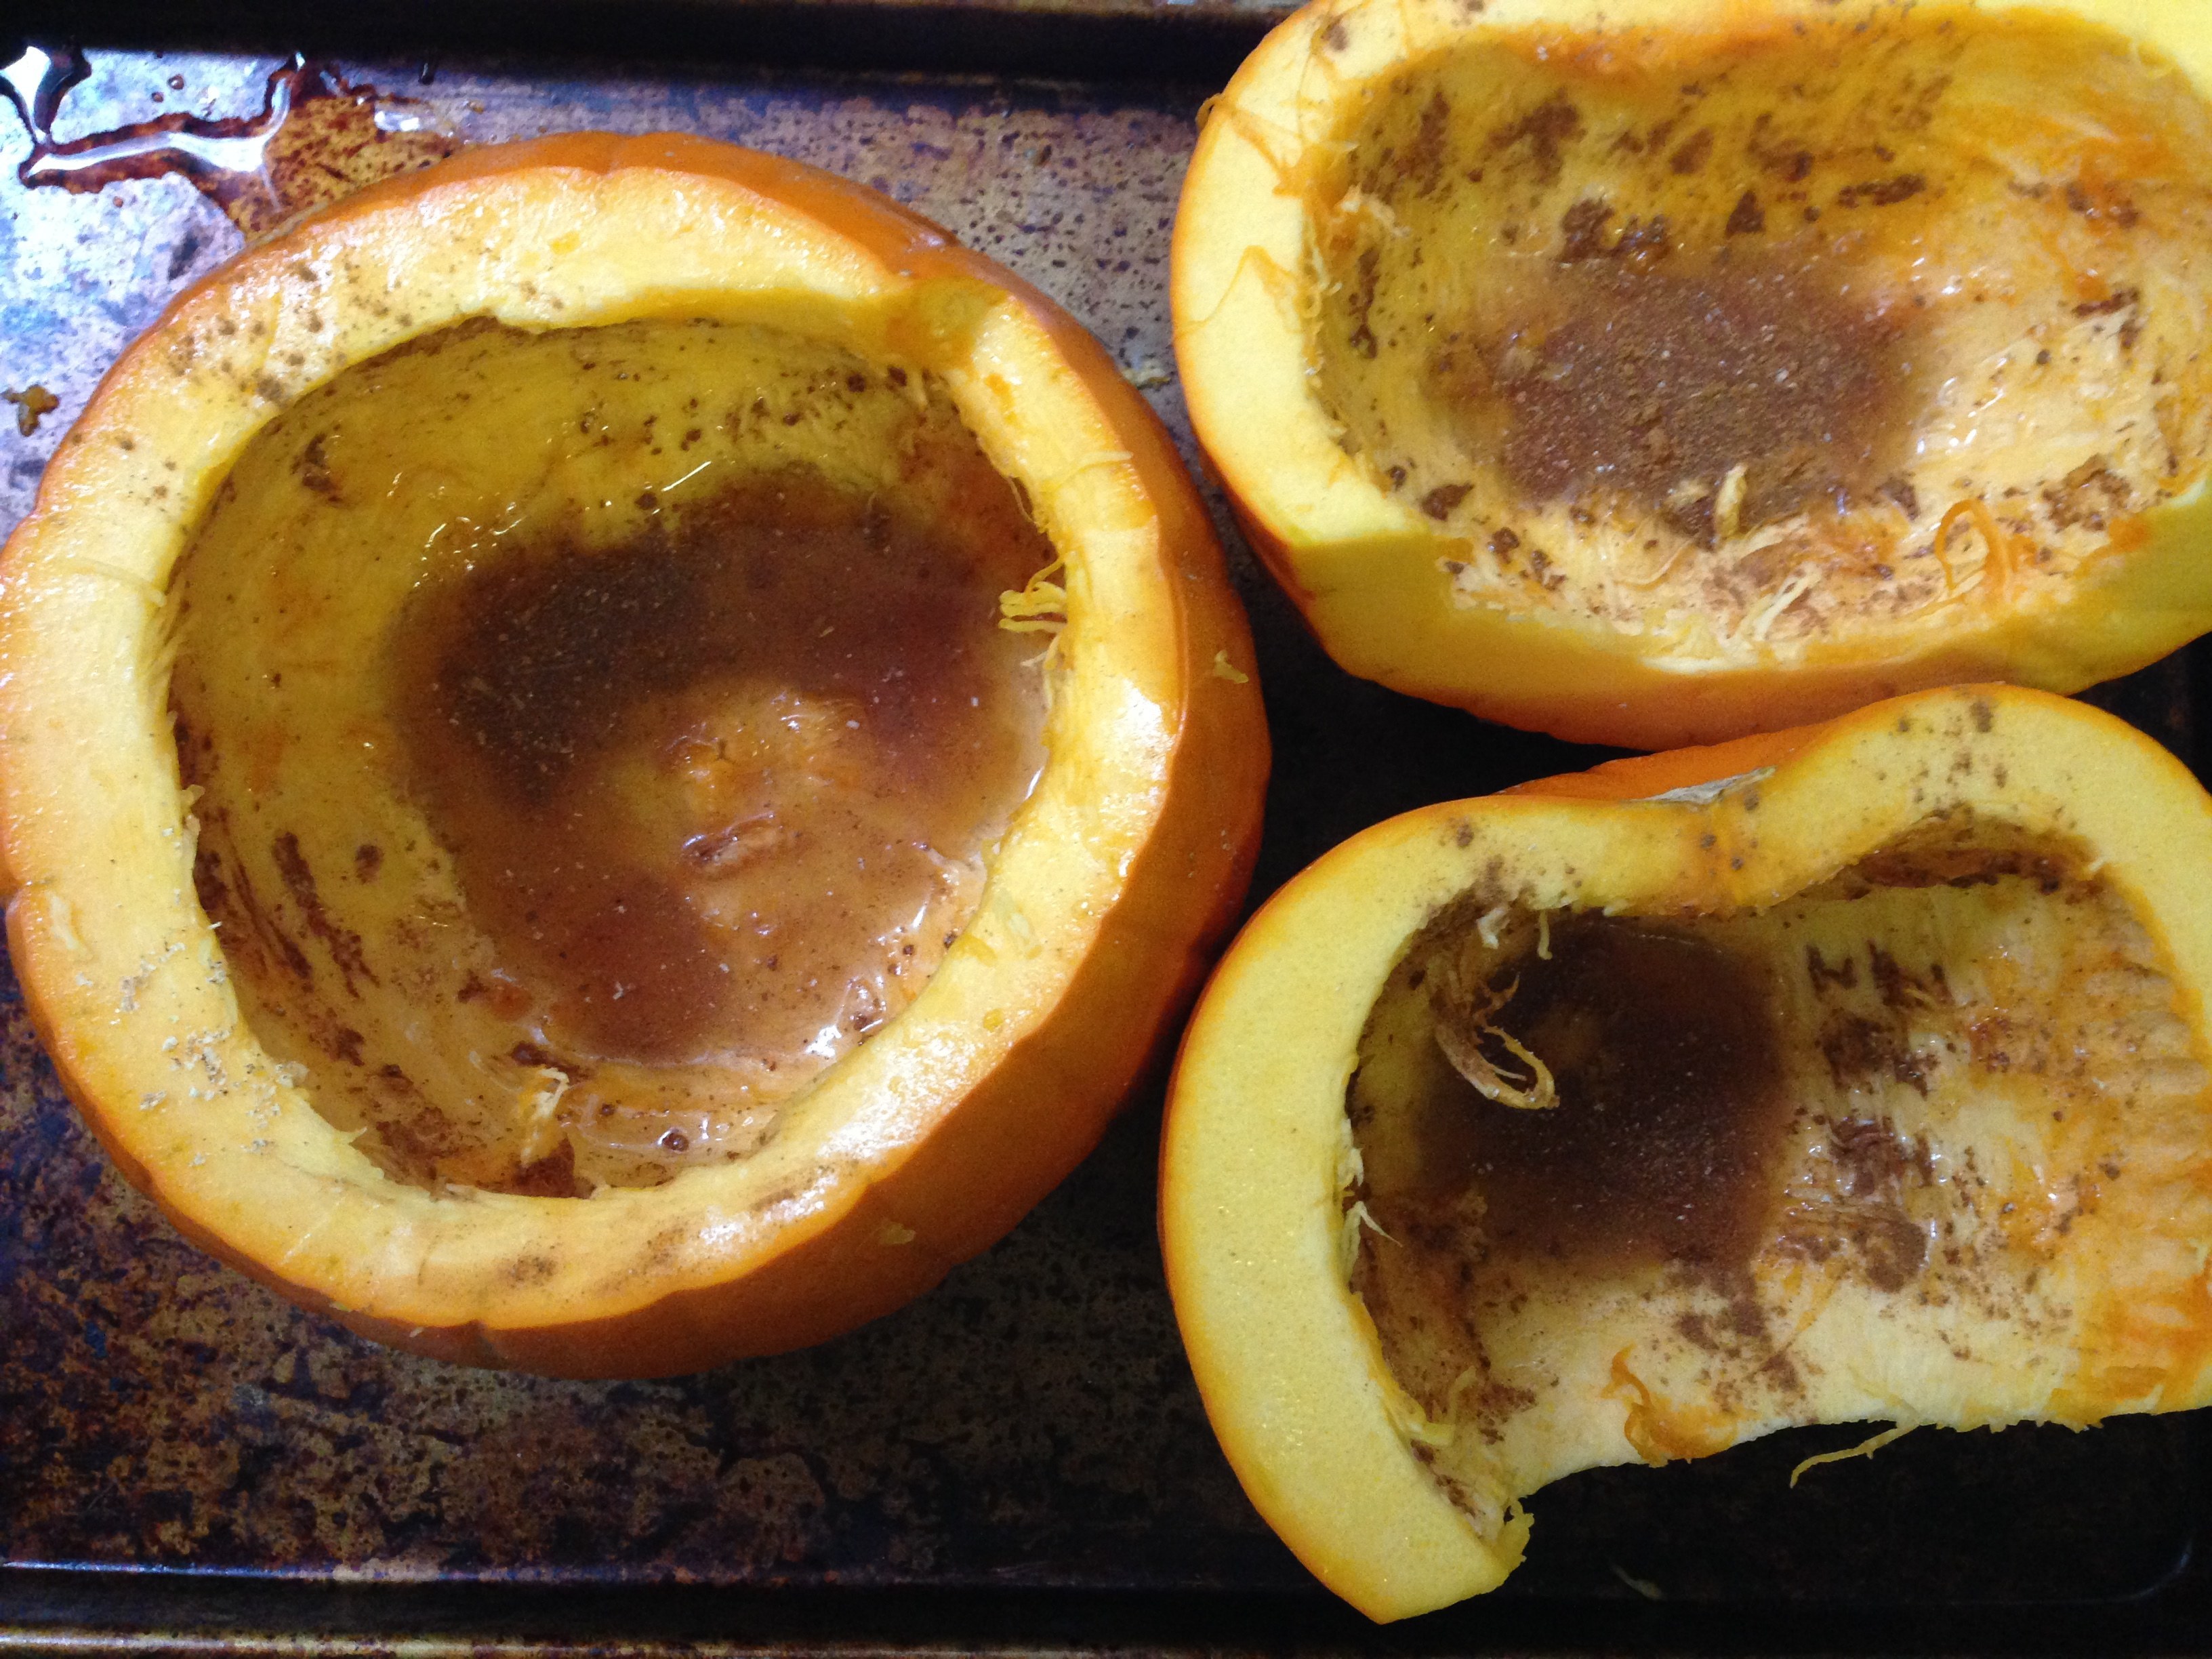
Using a small paring knife, cut out the top part of the core of the apple, basically in a funnel shape.

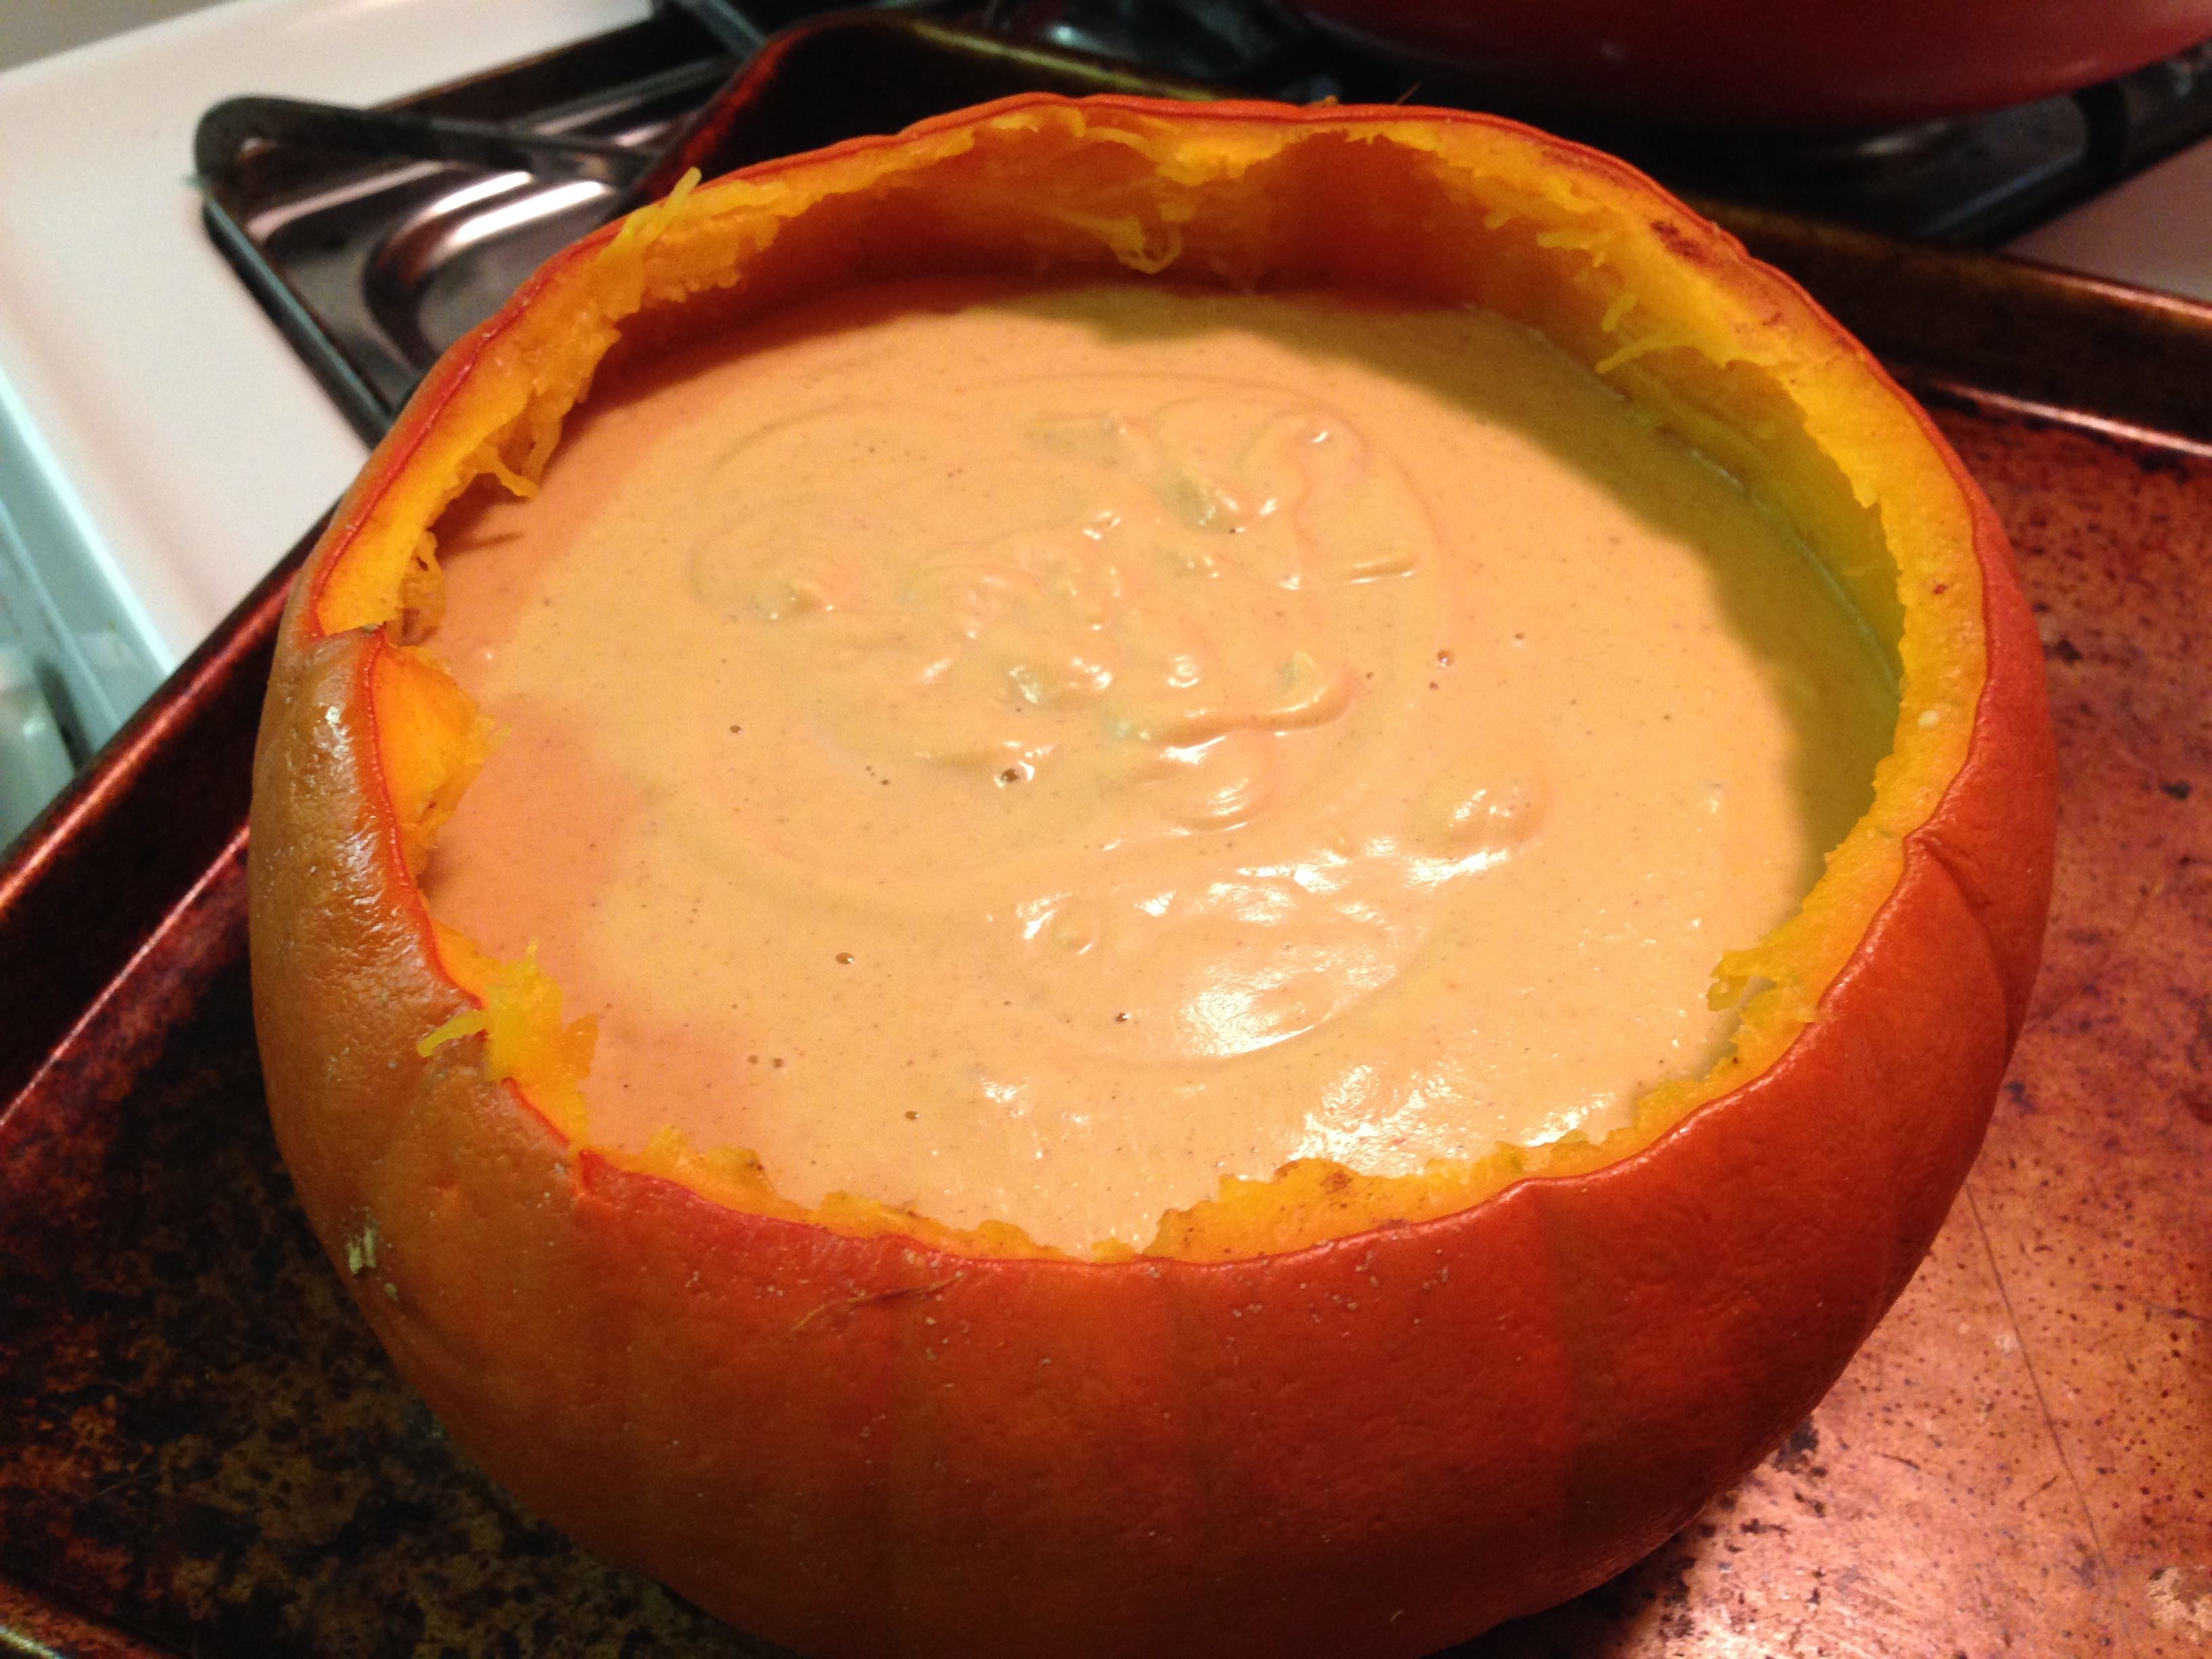
Sprinkle cinnamon into the funnel, then fill in with the finely chopped nuts. Drop the coconut oil on top.

Pour the coconut water into the base of the pan, put the cloves into the pan, then put the apple(s) on top of them.

Pop them in the oven, get back in bed under the warm covers for about 40 minutes.

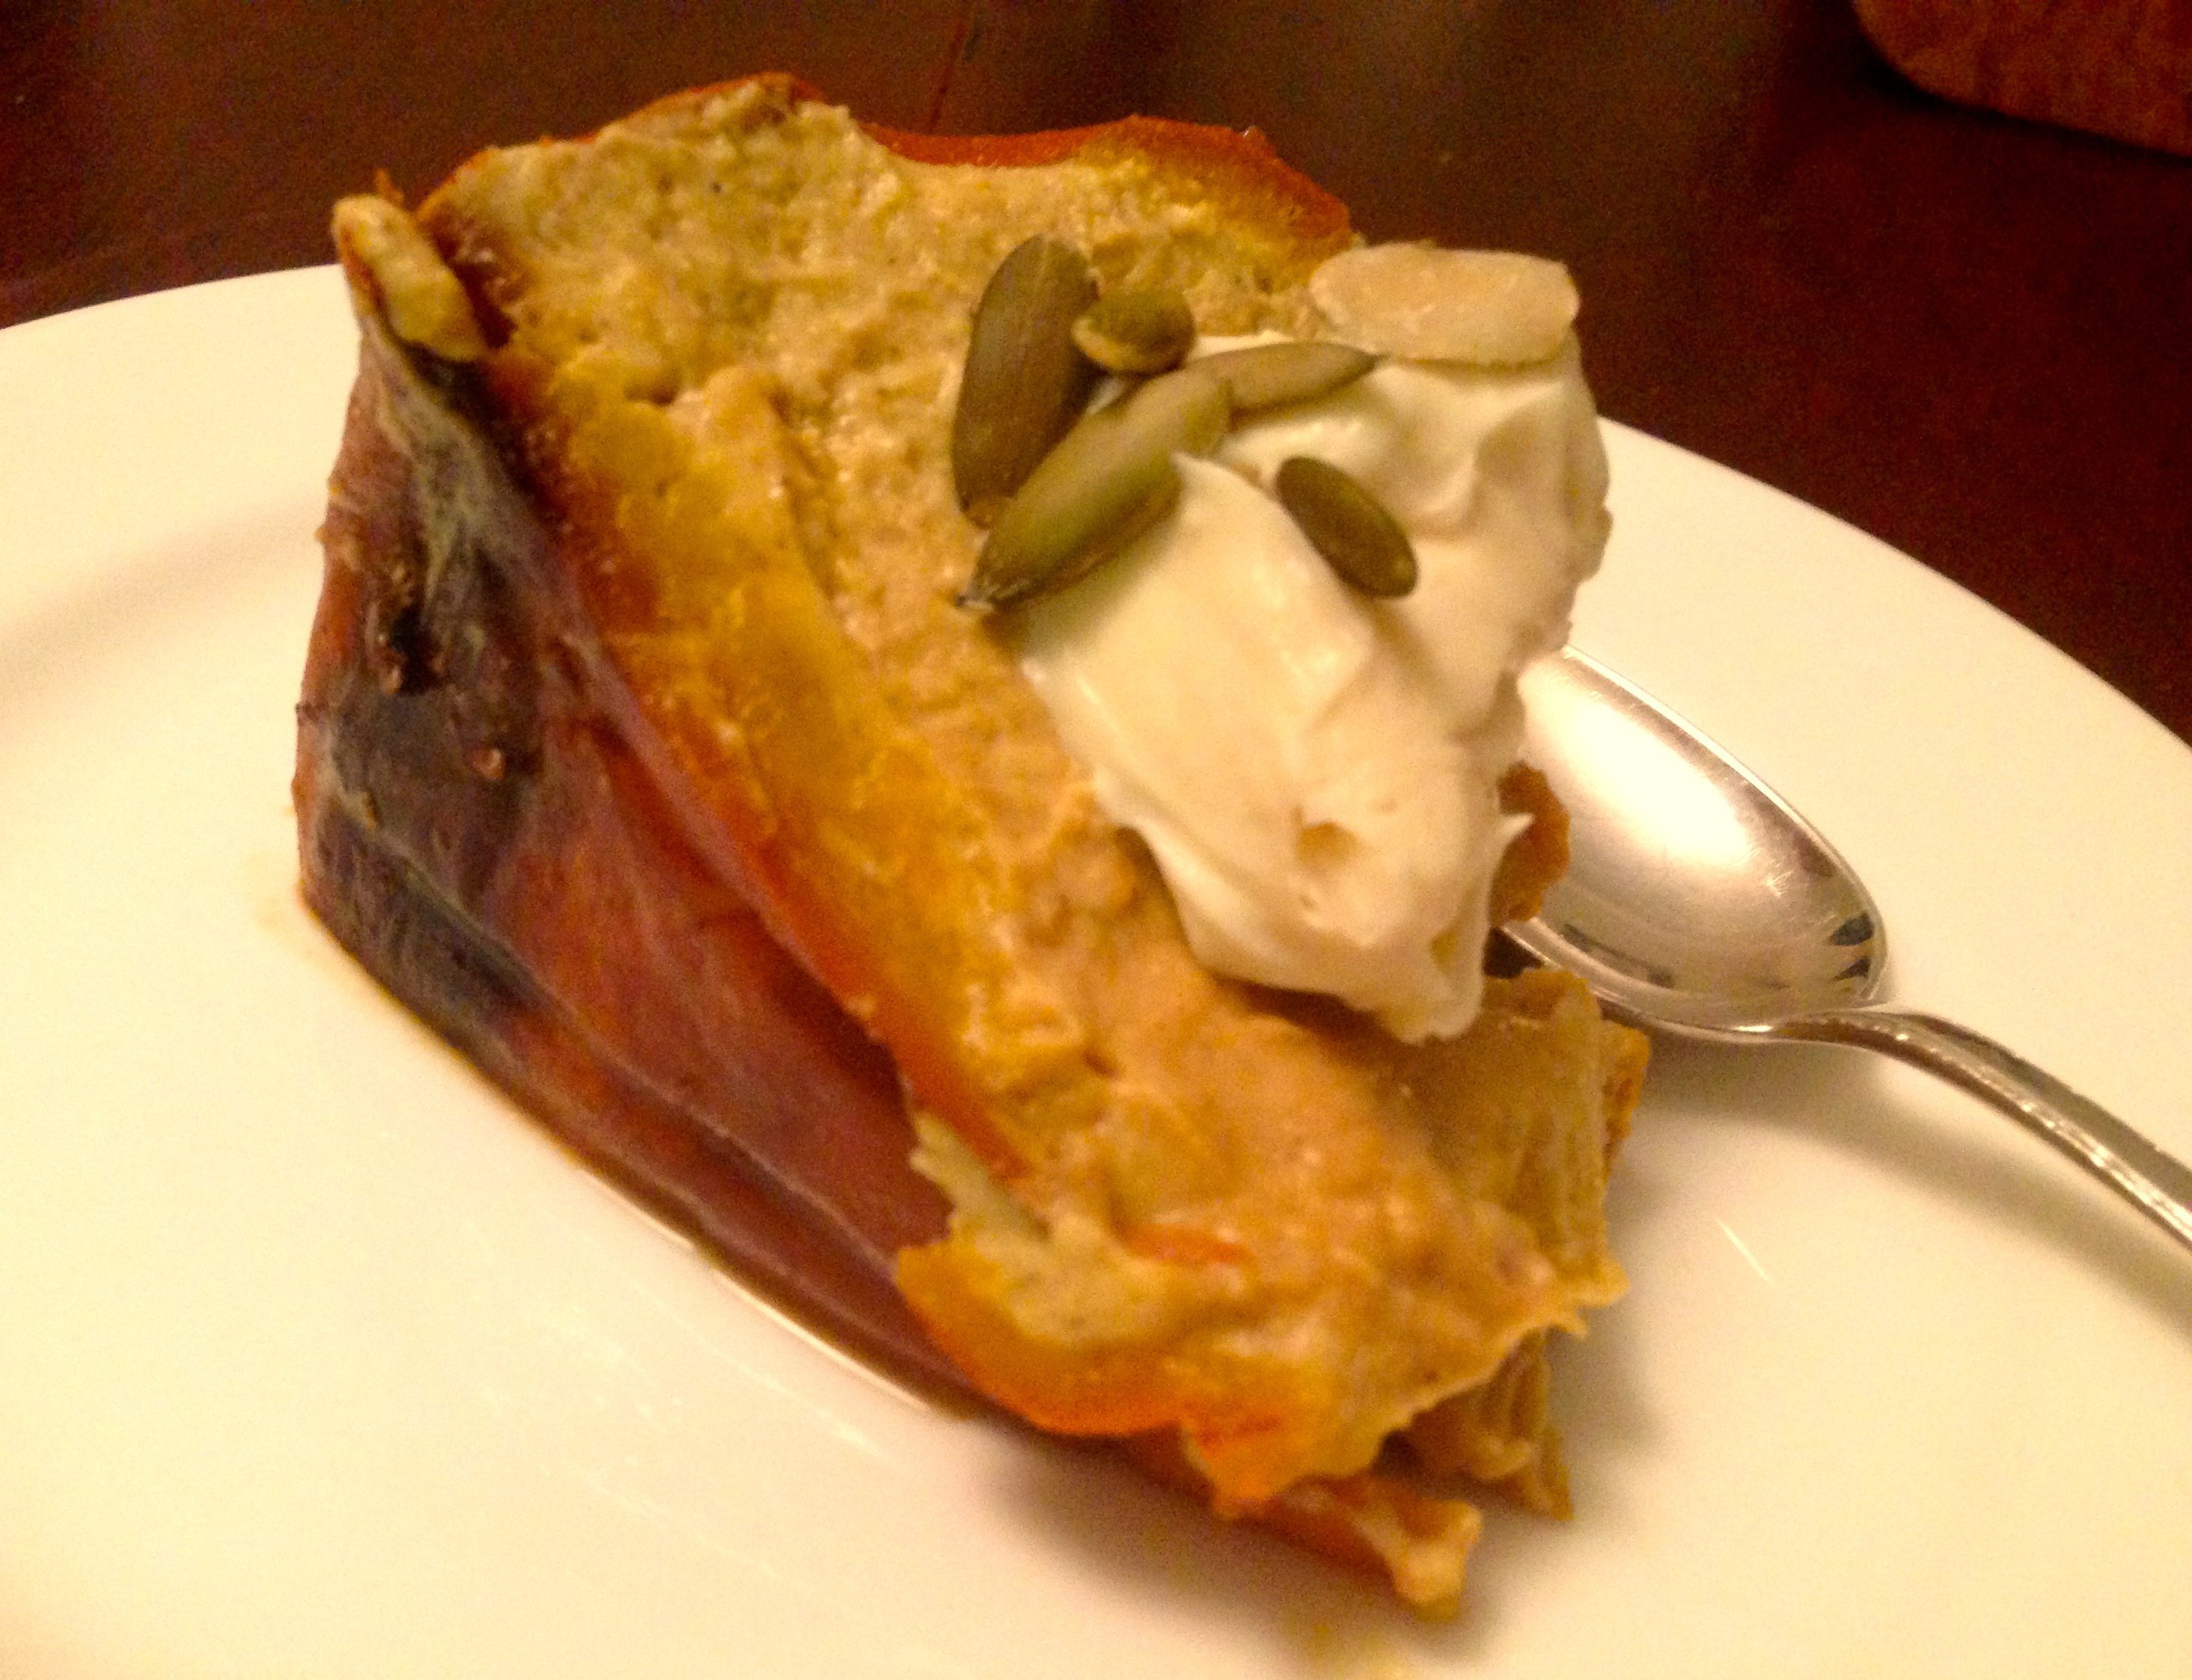
They’re ready when they yield to a quick squeeze or can be pierced with a fork. I like them a little less done, so the apple keeps the bite – up to you. There will be a delicious liquid in the bottom of the pan – you may want to pour it over each baked apple just before serving!

Note: You can even use nut butters, like almond butter, for this one, if you don’t have nuts on hand!!

Filed Under: Recipes we LOVE Tagged With: baked apple, baked apples, easy breakfast, easy hot breakfast, winter breakfast

Healthy Food Pyramid

November 13, 2014 by Jennifer Silverberg Leave a Comment

Found this and LOVE it … can’t find the original post so don’t know how to credit it (please let me know if it’s yours, and I’ll add the credit!). Anyway, this is MUCH better than the other pyramids around that put processed foods and processed sugars in, as if they are necessary/desirable parts of a diet!

Instead, eat this way – as much as you like – and you’ll be overwhelmed with the health and vibrant energy you’ll enjoy!

Healthy Food Pyramid

Filed Under: Healthy Lifestyle, Inspiration

For Lasting Health: Change “Default” Eating Behavior the Easy Way

November 10, 2014 by Jennifer Silverberg Leave a Comment

Article reposted with the permission of the author.

Jennifer Silverberg, Eat Yourself Well
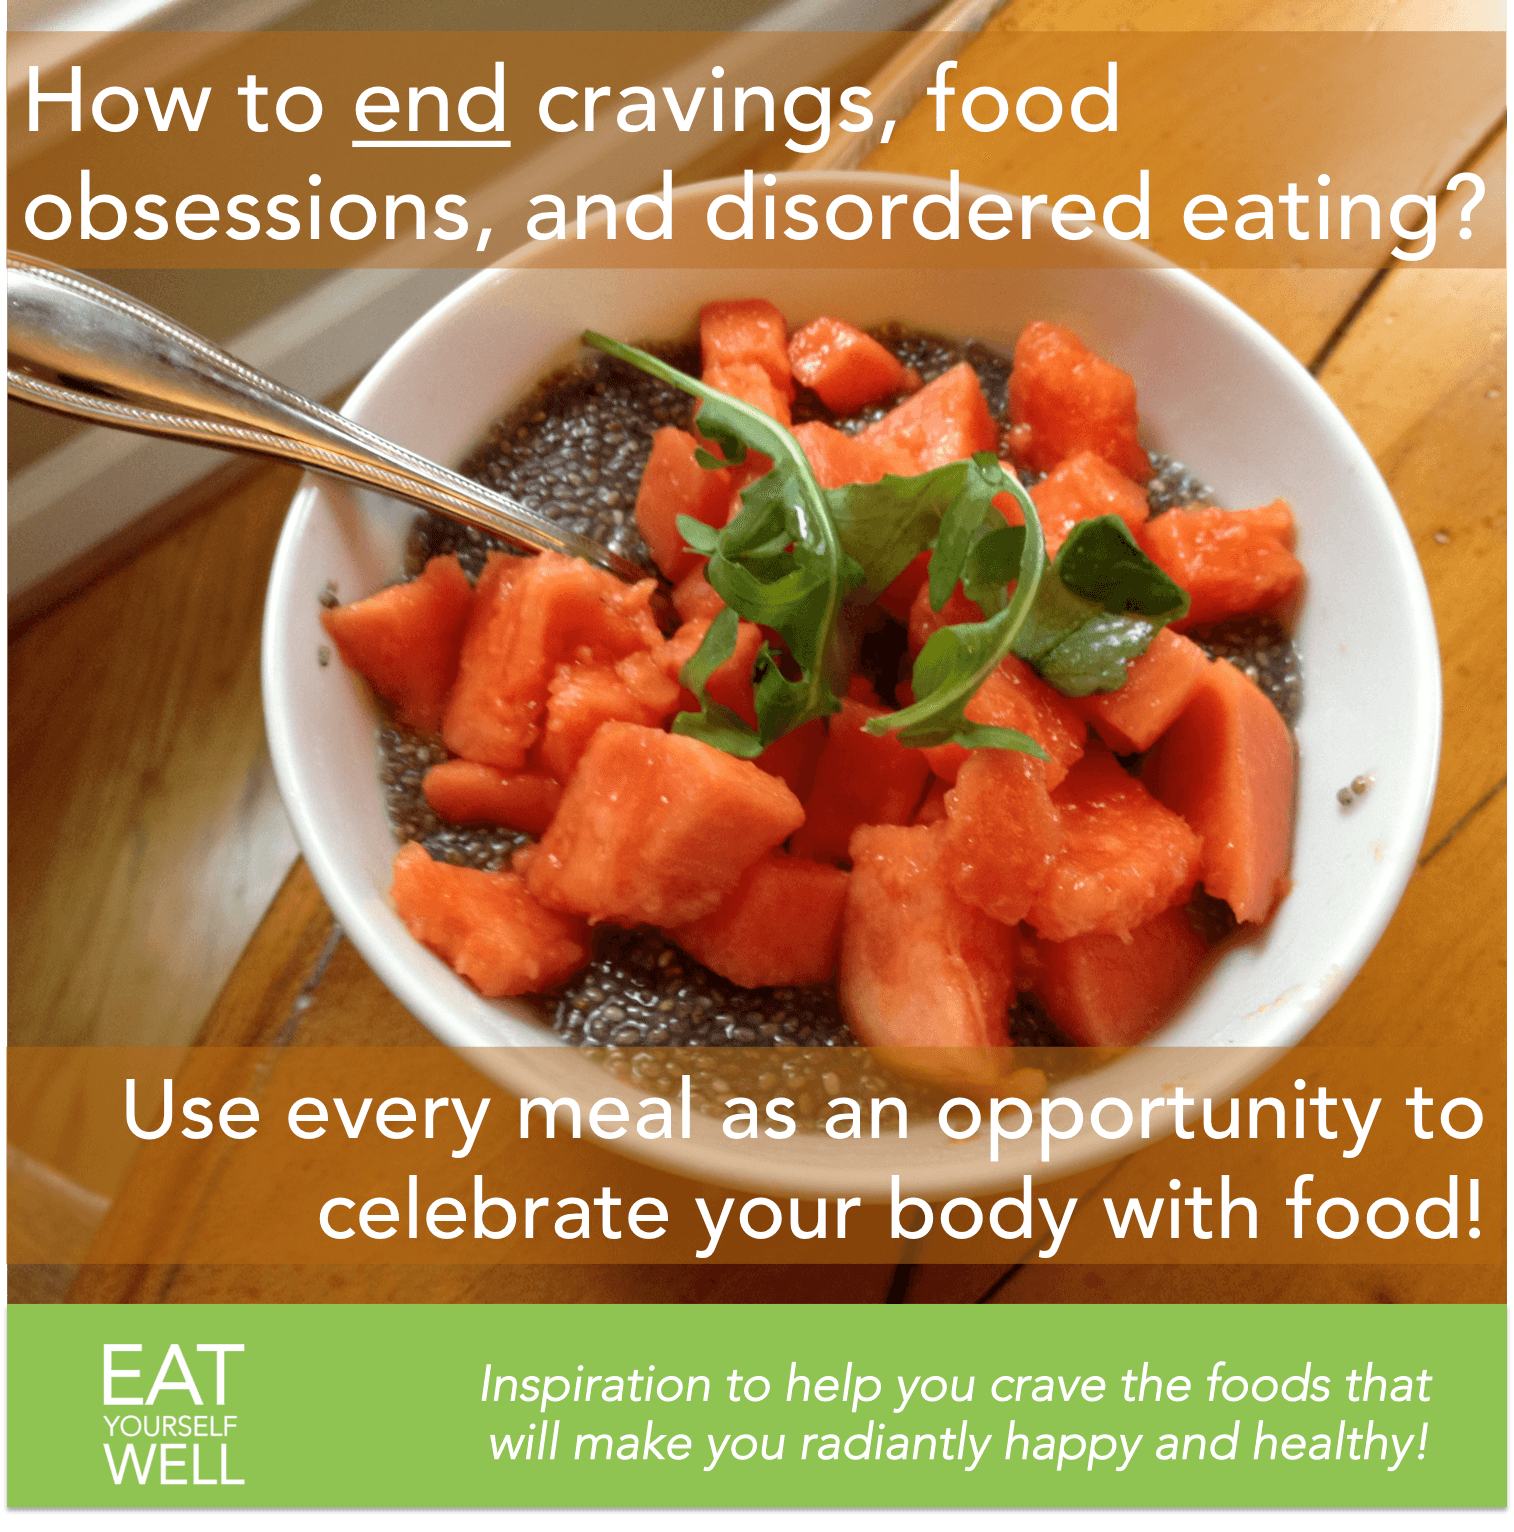
Jennifer Silverberg, owner of the popular Facebook page and healthy eating blog, Eat Yourself Well, has spent years inspiring others to make healthy lifestyle changes. As our guest today, she identifies the biggest barrier to change, and the key to breaking through the barrier and creating successful, stress-free long-term health.

“Our culture makes unhealthy decisions the easy, ‘default’ choice, virtually 24/7,” she says. “That means that most people, when they’re hungry, have to navigate around at least a dozen junk food opportunities before they get to a good choice. That is a tremendous strain on your willpower, at the times where you are most vulnerable. Food marketers take full advantage of this.”

Jennifer says that the key to successfully building new, healthy habits is deliberately creating a space where you make healthy habits the “default,” easy choices. “I like to think of it as an arms-reach life preserver floating around my clients, made up of real food choices that support their health,” she says.

This requires a little pre-planning, and offers the following three top tips.

1. “Think of the places where you spend the most time, particularly the spots where you are when you become hungry, or bored: your desk, your bedroom, your car. Make sure that the easiest foods for you to get to in these places are the ones that you want yourself to choose.”

2. “If meals are a hassle, and you find yourself ‘making do’ with last-minute pizza delivery or similar, consider meal services that deliver fully-cooked, healthy meals to your home. For one to three weeks, put the ‘what’s for breakfast, lunch, and dinner’ choice in the hands of an expert. But don’t compromise with fake packaged foods, insist on real food beautifully prepared,” she says. She recommends services like Real Food Works, a healthy meal delivery service out of Philadelphia.

3. Use the marketer’s trick in reverse: Make it least convenient to get the foods you least want yourself to choose. Rather than making foods “off-limits” and thereby turning them into obsessions (yes, we’ve all done that), Jennifer recommends “leaving the ice cream at the grocery store, so it’s always a car ride away.” You may find yourself “settling up” for a little plain yogurt with some fruit instead.

Think about the 4-6 “life preserver” changes you can make this week, to make healthy eating easier than making poor choices. Let us know what changes made the biggest difference, in the comments below.

Jennifer Silverberg, Eat Yourself Well

Jennifer has over 20 years experience as a Marketing executive, consultant and entrepreneur across multiple industries including adult and child nutrition, packaged foods, and much more. Her experience has given her unique insights into the methods used by food marketers and other influencers to erode the very meaning of the word “food” … resulting in blind consumer acceptance of what constitutes an “acceptable,” or “normal” diet, and “acceptable” or “normal” health. Today, she turns those principles on their heads to help clients regain vibrant health as easily and naturally as they once gained weight. Jennifer’s dream: that one day it will be as socially unacceptable to give a child lab-created-sugar-and-chemically-filled-junk-food as it is today to hand them a cigarette.

Filed Under: Food Choices, Healthy Lifestyle, Inspiration, Marketing to Yourself

How to end cravings, food obsessions, and disordered eating

November 3, 2014 by Jennifer Silverberg Leave a Comment

End Cravings

Filed Under: Inspiration, Marketing to Yourself Tagged With: end cravings, love food, love yourself

Easy Pumpkin Fig Mousse

November 1, 2014 by Jennifer Silverberg Leave a Comment

This is SUCH a simple recipe, and a healthy way to celebrate the pumpkin flavors of the season. You’ll get more compliments than you feel you deserve … what a great way to start the holiday season, right?

Pumpkin Fig Mousse

Easy Pumpkin Fig Mousse Recipe

Note: As with all recipes using Real Food ingredients, all measures are approximate, and the right blend depends on the characteristics of your in-season veggies (they can vary significantly in sweetness, spiciness, texture, etc.). You’re safe to experiment!

Ingredients

  • One 16 oz can (BPA-free) or box of organic pumpkin – not pumpkin pie mix! (Feel free to sub with one sugar pumpkin, roasted, if you’re feeling like roasting pumpkin!)
  • Two dried figs
  • 1 tbsp pumpkin pie spice or garam masala (like pumpkin pie spice, but a little more exotic) If you really like cinnamon or ginger or vanilla or whatever, feel free to add a bit more of this.
  • Optional garnishes if you’re feeing fancy: salted pumpkin seeds (highly recommended for the contrast to the sweet pumpkin), sliced fresh fig, dab of greek yogurt, coconut cream, or fresh whipped cream, and/or organic graham cracker squares (which can give the sense of a “crust”)
  • Toss all ingredients in a strong blender, like a Vitamix, and blend until smooth. Taste, and adjust spices to your liking. Add another fig or a spoonful of maple syrup if you want it sweeter. If you’ve added anything, re-blend, then pour into serving dishes. Hold until ready to serve, add garnishes, and be ready to accept compliments!

    Filed Under: Superfoods Tagged With: easy pumpkin pie, healthy pumpkin dessert, healthy pumpkin pie, pumpkin mousse

    The Most Delicious Anti-Inflammatory Herbs and Spices

    October 14, 2014 by Jennifer Silverberg 1 Comment

    Anti-inflammatory Herbs and Spices

    Inflammation is healthy when it’s a response to a specific threat – it’s the body’s healing response to injuries and some illnesses. But our modern diets and lifestyles introduce persistent stressors, including emotional stress, environmental toxins, and foodborne chemicals, that can keep our bodies chronically inflamed.

    Chronic inflammation is increasingly being implicated in studies as the root cause of many serious illnesses – including heart disease, many cancers, memory diseases like Alzheimers, and autoimmune diseases … as well as being seriously taxing on our energy levels and mood.

    A diet rich in fresh, unprocessed fruits and vegetables, especially when combined with anti-inflammatory herbs and spices like the ones shown above, can help heal your body, and help it preserve your inflammation response for those times when it is needed to fight specific, acute, stressors like injuries.

    And – it’s a delicious way to eat … notice that you have all the spices for a pumpkin pie in this chart! Need a recipe? Try this one: Pumpkin Pie Baked in the Pumpkin.

    Filed Under: Cooking Tips, Healthy Lifestyle, Stealth Health, Superfoods Tagged With: anti-inflammatory, anti-inflammatory spices, healthy herbs, healthy spices

    Healthy Pumpkin Pie, Baked in the Shell

    October 13, 2014 by Jennifer Silverberg 2 Comments

    Pumpkin Pie Baked in the Pumpkin

    Fresh Pumpkin Pie SliceOk, now THIS was a fun one to figure out! I wanted a fully REAL food pumpkin pie – nothing processed. And I wanted to bake it in the shell. And I wanted it to be fairly easy. Here you go: simple, healthy, and beautiful!

    If you’re thinking of making this for Thanksgiving, you may want to make it once or twice ahead of time, too. Not because it’s tricky or anything, just because it’s delicious :-).

    Ingredients
    2 medium “Sugar Pumpkins” – these are NOT jack o’lantern pumpkins, they’re quite different. Look for ones marked “sugar pumpkins” or “baking pumpkins.”
    1/2 cup maple syrup
    3-4 tbsp “pumpkin pie spice” (or mix of cinnamon, nutmeg, ginger, cloves and allspice)
    1 tsp salt
    1.5 cup raw cashews
    1 tablespoon vanilla
    I also like to add some freshly ground nutmeg and a little fresh ginger if I have it on hand
    Pepitas for garnish
    Optional: 1/4 cup marscapone cheese – makes the pie super-creamy, but omit for vegan version
    Optional: 2 eggs – they’re not needed, but some people prefer the texture of eggy pumpkin pie

    How to make

    Preheat oven to 350.

    Cut the tops off of both pumpkins, and cut one in to halves, leaving the other whole. With a spoon, scrape out the seeds and other tissues and put aside (you can roast the seeds later if you like).

    Pumpkin pieces ready to roastMix the maple syrup, spices, and salt, and pour into the “bowls” of the halves and the whole pumpkin, and spread around the inside surface. Place these on a large baking sheet and lay a piece of aluminum foil over all. Place into the oven – they are going to cook about 30 – 50 minutes (totally depends on the pumpkins, they can vary considerably), until softened but the shell of the large pumpkin is still solid (not collapsed).

    Remove the pumpkins to cool. Put the cashews, a little water and vanilla in a high speed blender (like Vitamix) or food processor. Note: If you do not have a high speed blender, simmer the cashews in water for about 15 minutes, then discard the water before processing) Process until smooth, adding a little water as needed to make smooth. If you are using marscapone cheese and/or eggs, add them now.

    When the pumpkin pieces are cool enough, pick them up and pour the remaining maple syrup/spices from them directly into the cashew mix and continue blending on low. Then, scrape the soft pumpkin pulp from the pumpkin halves, all the way to the skin (discarding skin), and add to the blender (still on low). Last, scrape about half of the pumpkin pulp from the whole pumpkin, leaving enough to preserve the structure, and also add this to the blender. Process until smooth. Note: you may overflow your blender, and have to blend in stages.

    Taste the pumpkin mixture (assuming you haven’t added eggs) and adjust seasonings – I usually wind up adding some more spices at this point.

    Pumpkin ready to go back into the oven

    Pumpkin ready to go back into the oven. Note that the filling will expand a bit, so expect it to overflow if you fill to the edge.

    When the filling is ready, slowly pour it back into the whole pumpkin, and put the “pie” back in the oven to bake for another 40 – 50 minutes or so, until the top is browned and the filling seems to be set. Remove, and let cool to room temperature, or place in the refrigerator to serve later (most people prefer pumpkin pie to be chilled).

    I like to serve this topped with a little more cashew cream or marscapone, blended with a bit of maple syrup, plus a sprinkling of toasted pumpkin seeds. Slice from top to bottom and put slices flat onto plates, then top with the cashew cream or marscapone. Beautiful and delicious – Enjoy!!!

    Filed Under: Holiday Cooking, Recipes we LOVE, Seasonal Eating, Superfoods, Winter Recipes Tagged With: healthy pumpkin pie, pumpkin pie baked in the shell, pumpkin pie from scratch, vegan pumpkin pie, vegan thanksgiving

    Quick guide to sprouting!

    October 11, 2014 by Jennifer Silverberg Leave a Comment

    SproutingSuccessSprouting is a lot easier than it seems, and you’ll be amazed at how a tiny bit of seed can make piles and piles of sprouts for your sandwiches, salads, casseroles, etc. They’re also great by the handful as quick snacks!

    Be sure to involve the kids – you’ll be amazed at how they’ll want to eat the sprouts they grow!

    What Equipment Do I Need to Make Sprouts?

    A container
    Options are almost all affordable (<$20), and range from simple containers with built-in sieves to multi-tiered versions for sprouting several varieties at once. You can also use a simple glass jar with mesh/cheesecloth secured by a rubber band over the opening or screening fastened by a metal, screw-top ring, like this one from Amazon.

    Water
    Use fresh, clean water (non-chlorinated is best).

    Untreated seeds
    A few tablespoons of small sprouting seeds (like alfalfa or clover) to half a cup of seed (for large seeds like lentils or beans) are all you need to produce sprouts for sandwiches, salads, and other dishes. Sprouts will double or triple in size, depending on the size of the seed and the variety you are sprouting. Start small, to help ensure you don’t end up with sprouts going bad in your refrigerator. Seeds and mixes are available online from sprout and seed companies, from Amazon, or at your local health food store. You may want to try mixes that include more than one seed type, which can add a nice variety to your sandwiches and salads.

    To sprout

  • Rinse seeds under water to clean them and remove any dust or dirt.
  • Spread them evenly in your container to form a thin layer. Do not let them pile on top of one another.
  • Cover your seeds completely and soak for 6-12 hours. (Be sure to poke down any floaters.) This helps encourage sprouting.
  • Drain water from the seeds and keep moist. If using a jar, try laying on one side for more even distribution.
  • Rinse and drain 2-3 times per day. Rinse sunflower seeds more frequently, since they will get slimy. Rinse or pick off seed skins to prevent rotting.
  • After your seeds have sprouted, rinse and drain regularly (every 8-12 hours) until sprouts reach the desired length.
  • Eat fresh or store in the fridge until consumed. Most sprouts last 1-2 weeks when kept cool.
  • Average Number of Days to Finish Sprouts
    Lentil Sprouts: 3-4 days
    Mung bean Sprouts: 3-5 days
    Radish Sprouts: 4-5 days
    Mustard Sprouts: 3-6 days
    Alfalfa and Clover Sprouts: 5-6 days

    Filed Under: Growing Your Own (Veggies), Kids and Food Tagged With: eat yourself well, how to sprout, sprouts

    Easy Eggplant Dip

    October 9, 2014 by Jennifer Silverberg Leave a Comment

    When I have an eggplant around and am using the oven at night, I’ll sometimes cut the eggplant in half, spread on a little olive oil and salt, toss it in the oven to roast (about 40 minutes, at about any temp), and then pop it into the fridge to cool overnight. The next day, it’s super-easy to scoop out the roasted eggplant and whirl it in a blender with the other ingredients below – in under 5 minutes, I have a tasty, healthy, creamy lunchtime addition to salads, veggies, sandwiches, pasta, etc.! Bonus: even people who say they hate eggplant love this … just don’t tell them what it is!

    Easy Eggplant Dip

    Filed Under: Healthy Lunch Ideas, Recipes we LOVE

    Eat Your Greens Sandwich!

    October 9, 2014 by Jennifer Silverberg 1 Comment

    This is basically an amazing salad on bread – a portable salad, and a super-tasty way to eat your greens! And the way the hummus combines with the greens … SO yummy!

    Eat Your Greens Sandwich

    Filed Under: Recipes we LOVE Tagged With: eat your greens, healthy sandwich

    • « Previous Page
    • 1
    • …
    • 5
    • 6
    • 7
    • 8
    • 9
    • …
    • 18
    • Next Page »

    Are you ready to…

    Lets get social


    Want more? Follow us on social media.

    Take a look around

    Favorite Posts

    Recent Posts

    • COVID Has Reminded Us: Health REALLY Matters
    • Amazing and Easy Banana Bread
    • Healthy Resolution!
    • Happy Healthy Christmas Salad!
    • Quick Comfort Food: Grits and Greens (Plant Based!)

    Popular Posts

    101 Fast/Healthy/Fabulous Snack Ideas

    Copyright © 2025 · Foodie Child Theme by Shay Bocks · Built on the Genesis Framework · Powered by WordPress